
ADU Construction Process
- Step By Step Guide
How It Works
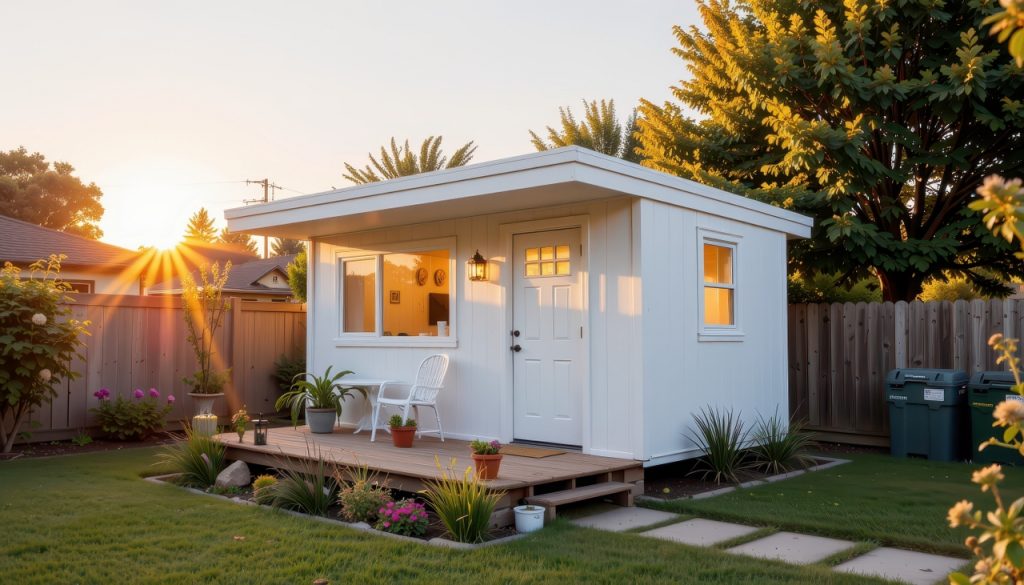
Building an Accessory Dwelling Unit (ADU) involves more than adding another structure to your property. It’s about creating a comfortable, functional living space that works independently while fitting naturally with the existing home.
Every property is unique, and factors such as available space, access, privacy, utilities, zoning, and local building requirements can influence the design and construction process.
We approach ADU projects in two important phases:

- Phase 1

- Phase 2
- Phase 1
Planning, Design & Permitting
Every ADU project begins with a site visit, measurements, and a careful evaluation of the existing property.
We discuss the homeowner’s goals and explore how the new unit can best fit the property while considering access, privacy, natural light, outdoor space, and its relationship to the main house.
From there, we develop an initial layout and review the design together, making adjustments as needed.
Because an ADU functions as a complete living space, thoughtful planning is especially important when arranging the kitchen, bathroom, living and sleeping areas, storage, and circulation.
The goal is to make every square foot count without making the space feel crowded or sacrificing comfort and functionality.
Once the general design is established, we begin preparing the construction plans and supporting documents required for permitting.
Depending on the project and local jurisdiction, these may include site and floor plans, foundation and structural details, exterior elevations, framing plans, plumbing and electrical layouts, mechanical systems, energy documentation, and engineering requirements.
The plans are submitted to the appropriate permitting agency for review. If corrections or additional information are requested, the necessary revisions are coordinated and resubmitted.
This phase is essential because the approved plans establish the foundation for the construction that follows.
While plans are under review, we can begin organizing many of the details needed for construction.
Where appropriate, 3D designs can help homeowners visualize the proposed ADU and understand how the different spaces and features will come together.
We also guide homeowners through material selections, including flooring, cabinetry, countertops, tile, windows, doors, plumbing fixtures, lighting, appliances, and interior finishes.
Special attention is given to practical details such as kitchen storage, appliance sizes, bathroom layouts, and efficient use of available space.
Making these decisions early helps create a cohesive design and reduces the potential for unnecessary delays during construction.
- Phase 2
Construction & Build
Once the necessary permits and approvals are in place, we prepare the property for construction.
Depending on the project, this may include protecting existing surfaces, establishing material staging areas, arranging debris containers, temporary fencing, portable restroom facilities, and other jobsite requirements.
Proper site preparation helps maintain a safer, more organized work environment while minimizing unnecessary disruption to the existing home and surrounding property.
For new ADU construction, the first major building phase typically involves site work and foundation preparation.
Depending on the approved plans and property conditions, this may include grading, excavation, trenching, formwork, reinforcing steel, and concrete placement.
The foundation is carefully constructed according to the approved structural plans and applicable building requirements.
This stage establishes the structural base for the new living space and prepares the project for the construction that follows.
Before certain foundation and concrete work is completed, the necessary underground utilities are installed and coordinated.
Depending on the project, this may include water lines, sewer and drainage connections, electrical conduits, gas lines, and other required utility connections.
ADUs may have shared or separate utility connections, depending on the design, existing property conditions, and applicable requirements.
Careful planning during this stage is especially important because making changes to underground systems after concrete placement can be difficult and costly.
Once the foundation is ready, we begin constructing the ADU’s structural framework.
Based on the approved plans, this may include floor framing, exterior and interior walls, beams, posts, headers, ceiling and roof framing, sheathing, and other structural components.
Door and window openings are also coordinated during this stage.
This is where the ADU begins transforming from drawings on paper into an actual structure, and the layout and proportions of the new living space become visible.
As framing progresses, we work toward properly enclosing and protecting the structure from weather and moisture.
Depending on the project, this may include roofing, exterior sheathing, weather-resistant barriers, flashing, windows, exterior doors, and other protective components.
Proper installation and coordination of these systems are essential for long-term durability.
Once the structure is adequately protected from the weather, more of the interior construction can move forward.
With the structural framing ready, we begin coordinating the plumbing, electrical, and mechanical systems.
Depending on the approved design, this may include water and drain lines, electrical wiring, outlets, switches, lighting, heating and cooling, ventilation, and appliance connections.
Because an ADU is a complete living unit, careful coordination between these systems is particularly important, especially within a compact floor plan.
This stage helps ensure the essential systems are properly installed before the walls, floors, and ceilings are closed.
Inspections are an important part of the construction process and help verify that the work follows approved plans and applicable building requirements.
Depending on the project, inspections may be required for foundations, underground utilities, framing, plumbing, electrical, mechanical systems, insulation, waterproofing, and other construction stages.
We coordinate the necessary inspections and plan the work around their completion to help keep construction moving efficiently.
Following the required rough inspections, we begin preparing the interior living spaces.
Insulation is installed where required, followed by drywall installation, taping, finishing, and preparation of walls and ceilings.
This stage marks an important transition, as the structure begins taking on the appearance and feel of the finished home that was originally designed.
With the major construction work complete, we begin installing the selected interior and exterior finishes.
Depending on the project, this may include flooring, tile, cabinetry, countertops, doors, trim, painting, lighting, plumbing fixtures, appliances, stucco, siding, and other finishing details.
Because an ADU brings together the essential features of a complete home within a smaller footprint, careful attention is given to layout, storage, material coordination, and the practical use of space.
The goal is to create a comfortable, well-finished unit that complements the existing property while maintaining its own sense of privacy and independence.
As construction approaches completion, we coordinate the required final inspections and address any outstanding items.
We then walk through the completed ADU with the homeowner, reviewing the work together and identifying any remaining adjustments or touch-ups as part of the project closeout.
For us, a successful ADU project isn’t simply about building another structure. It’s about bringing together thoughtful design, careful planning, and quality construction to create a space that feels like a complete home.
Whether intended for family, guests, or long-term flexibility, the finished ADU should be comfortable, functional, and thoughtfully connected to the property it belongs to.